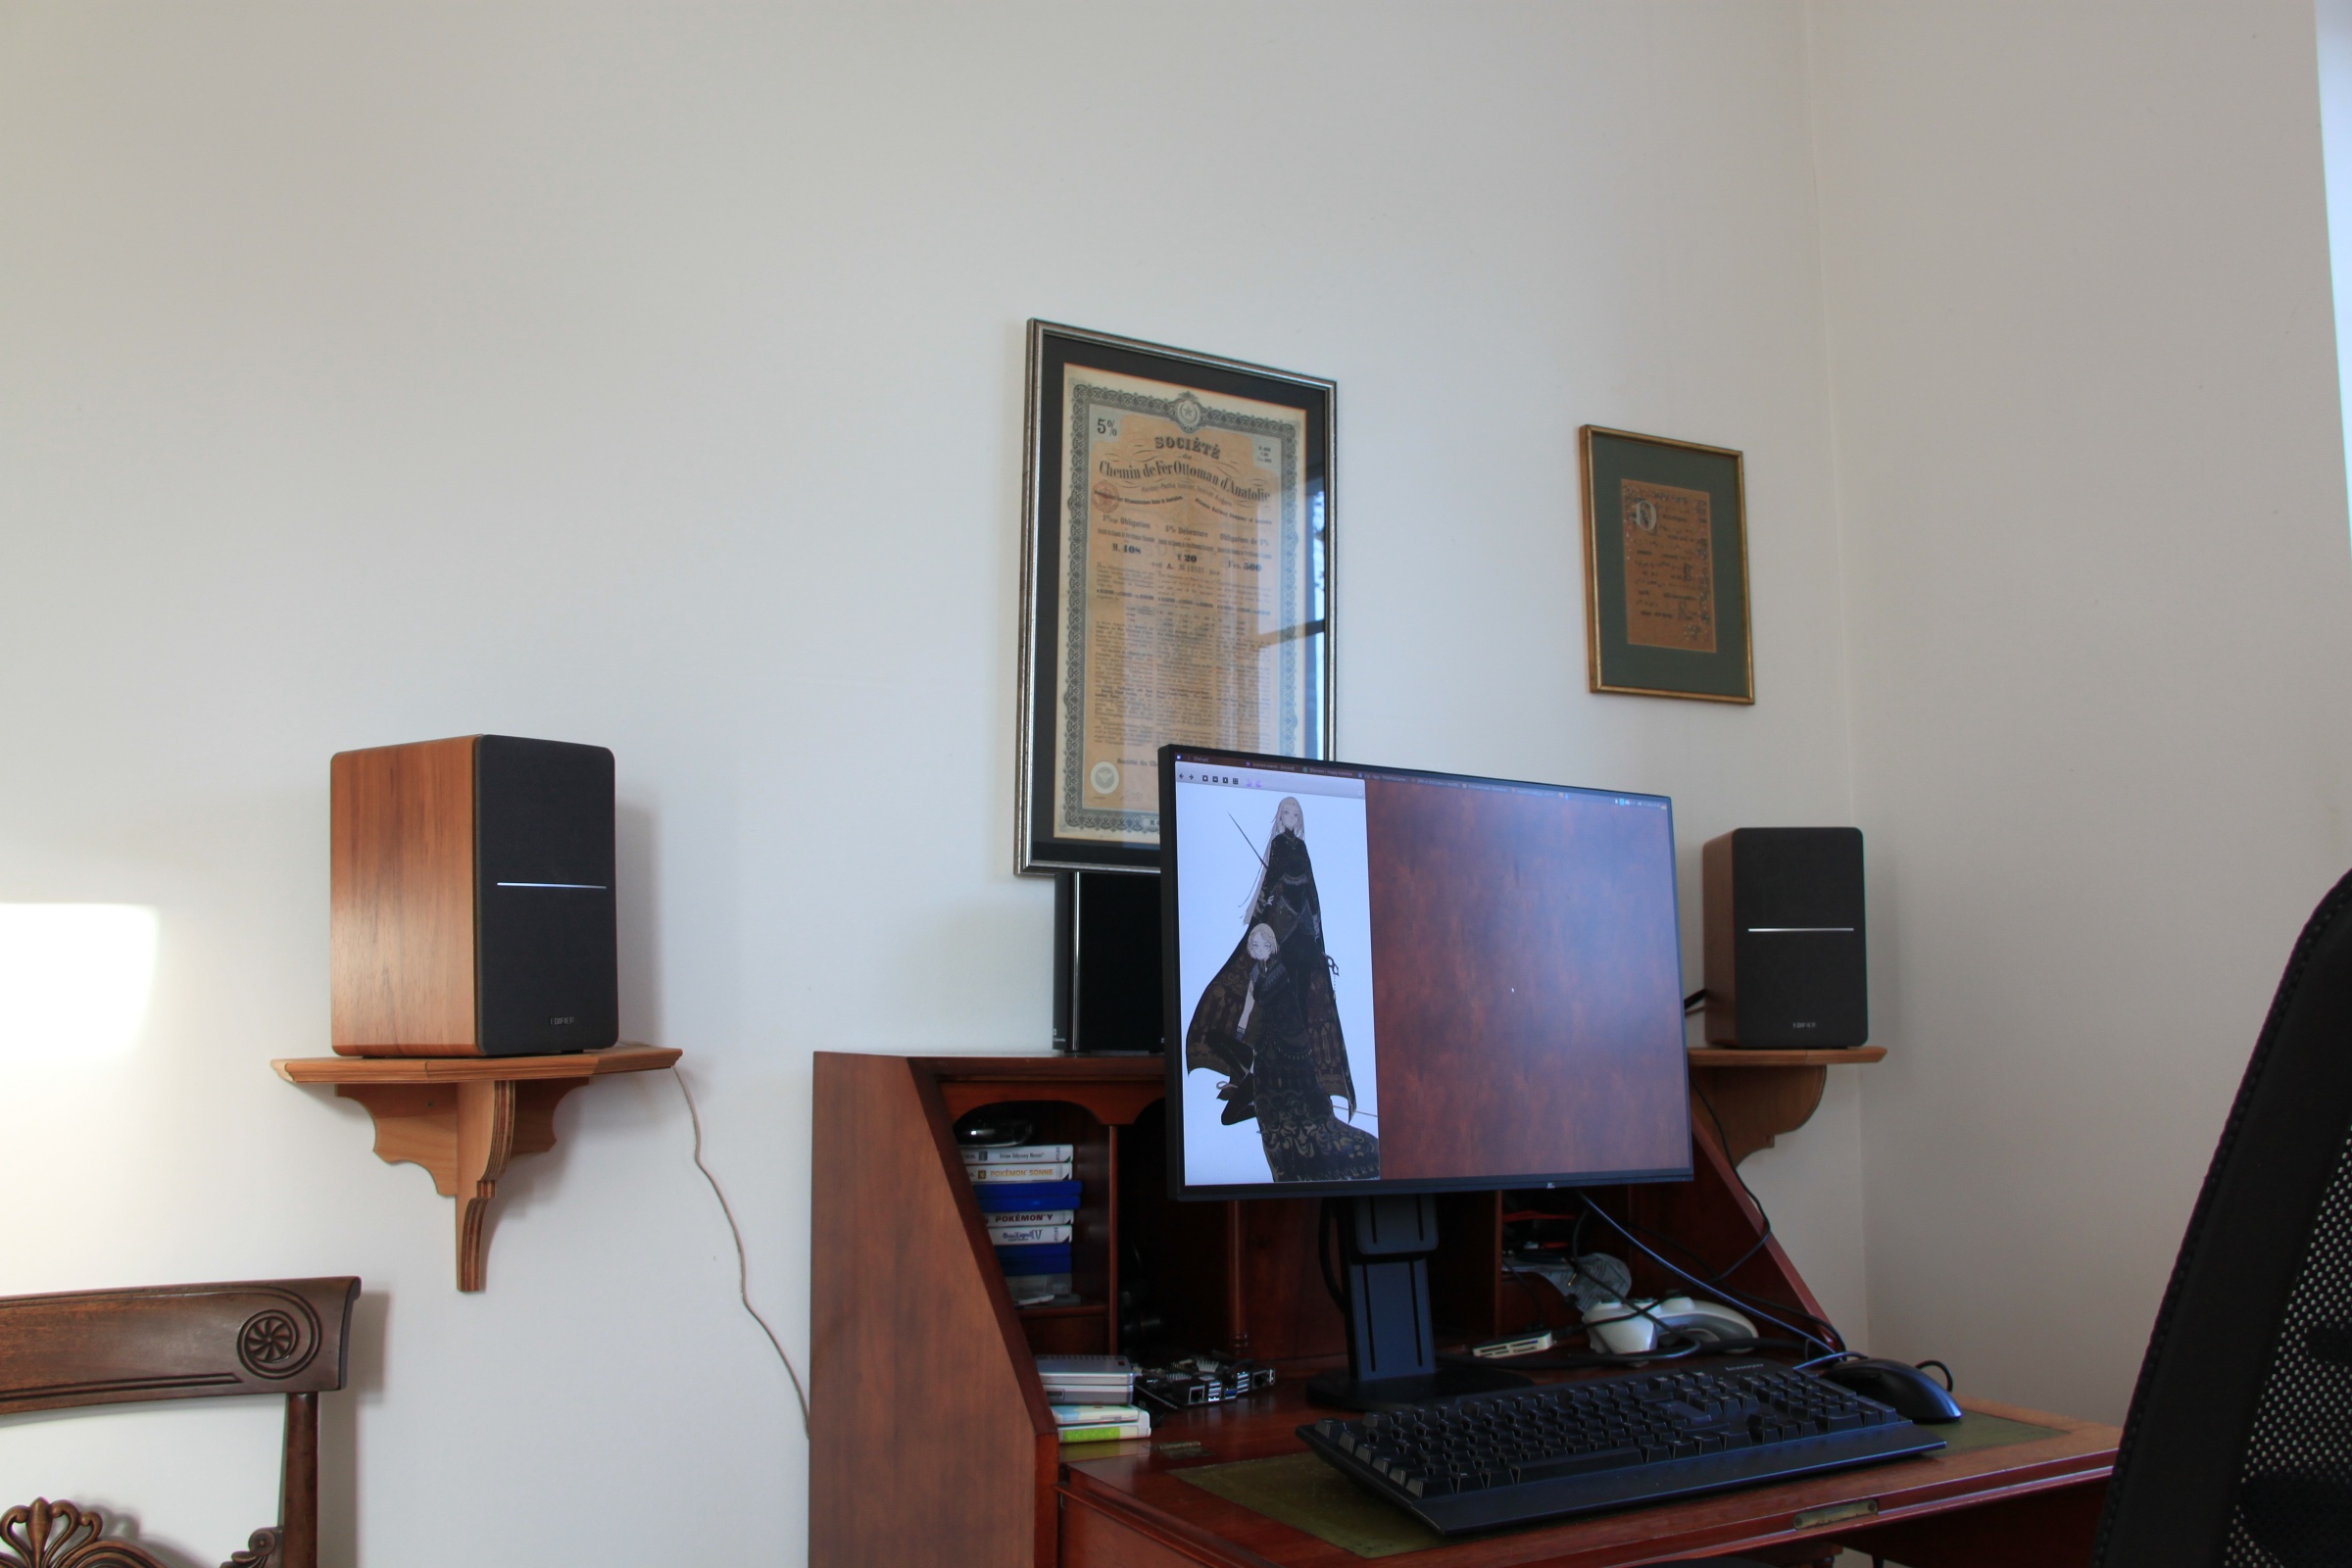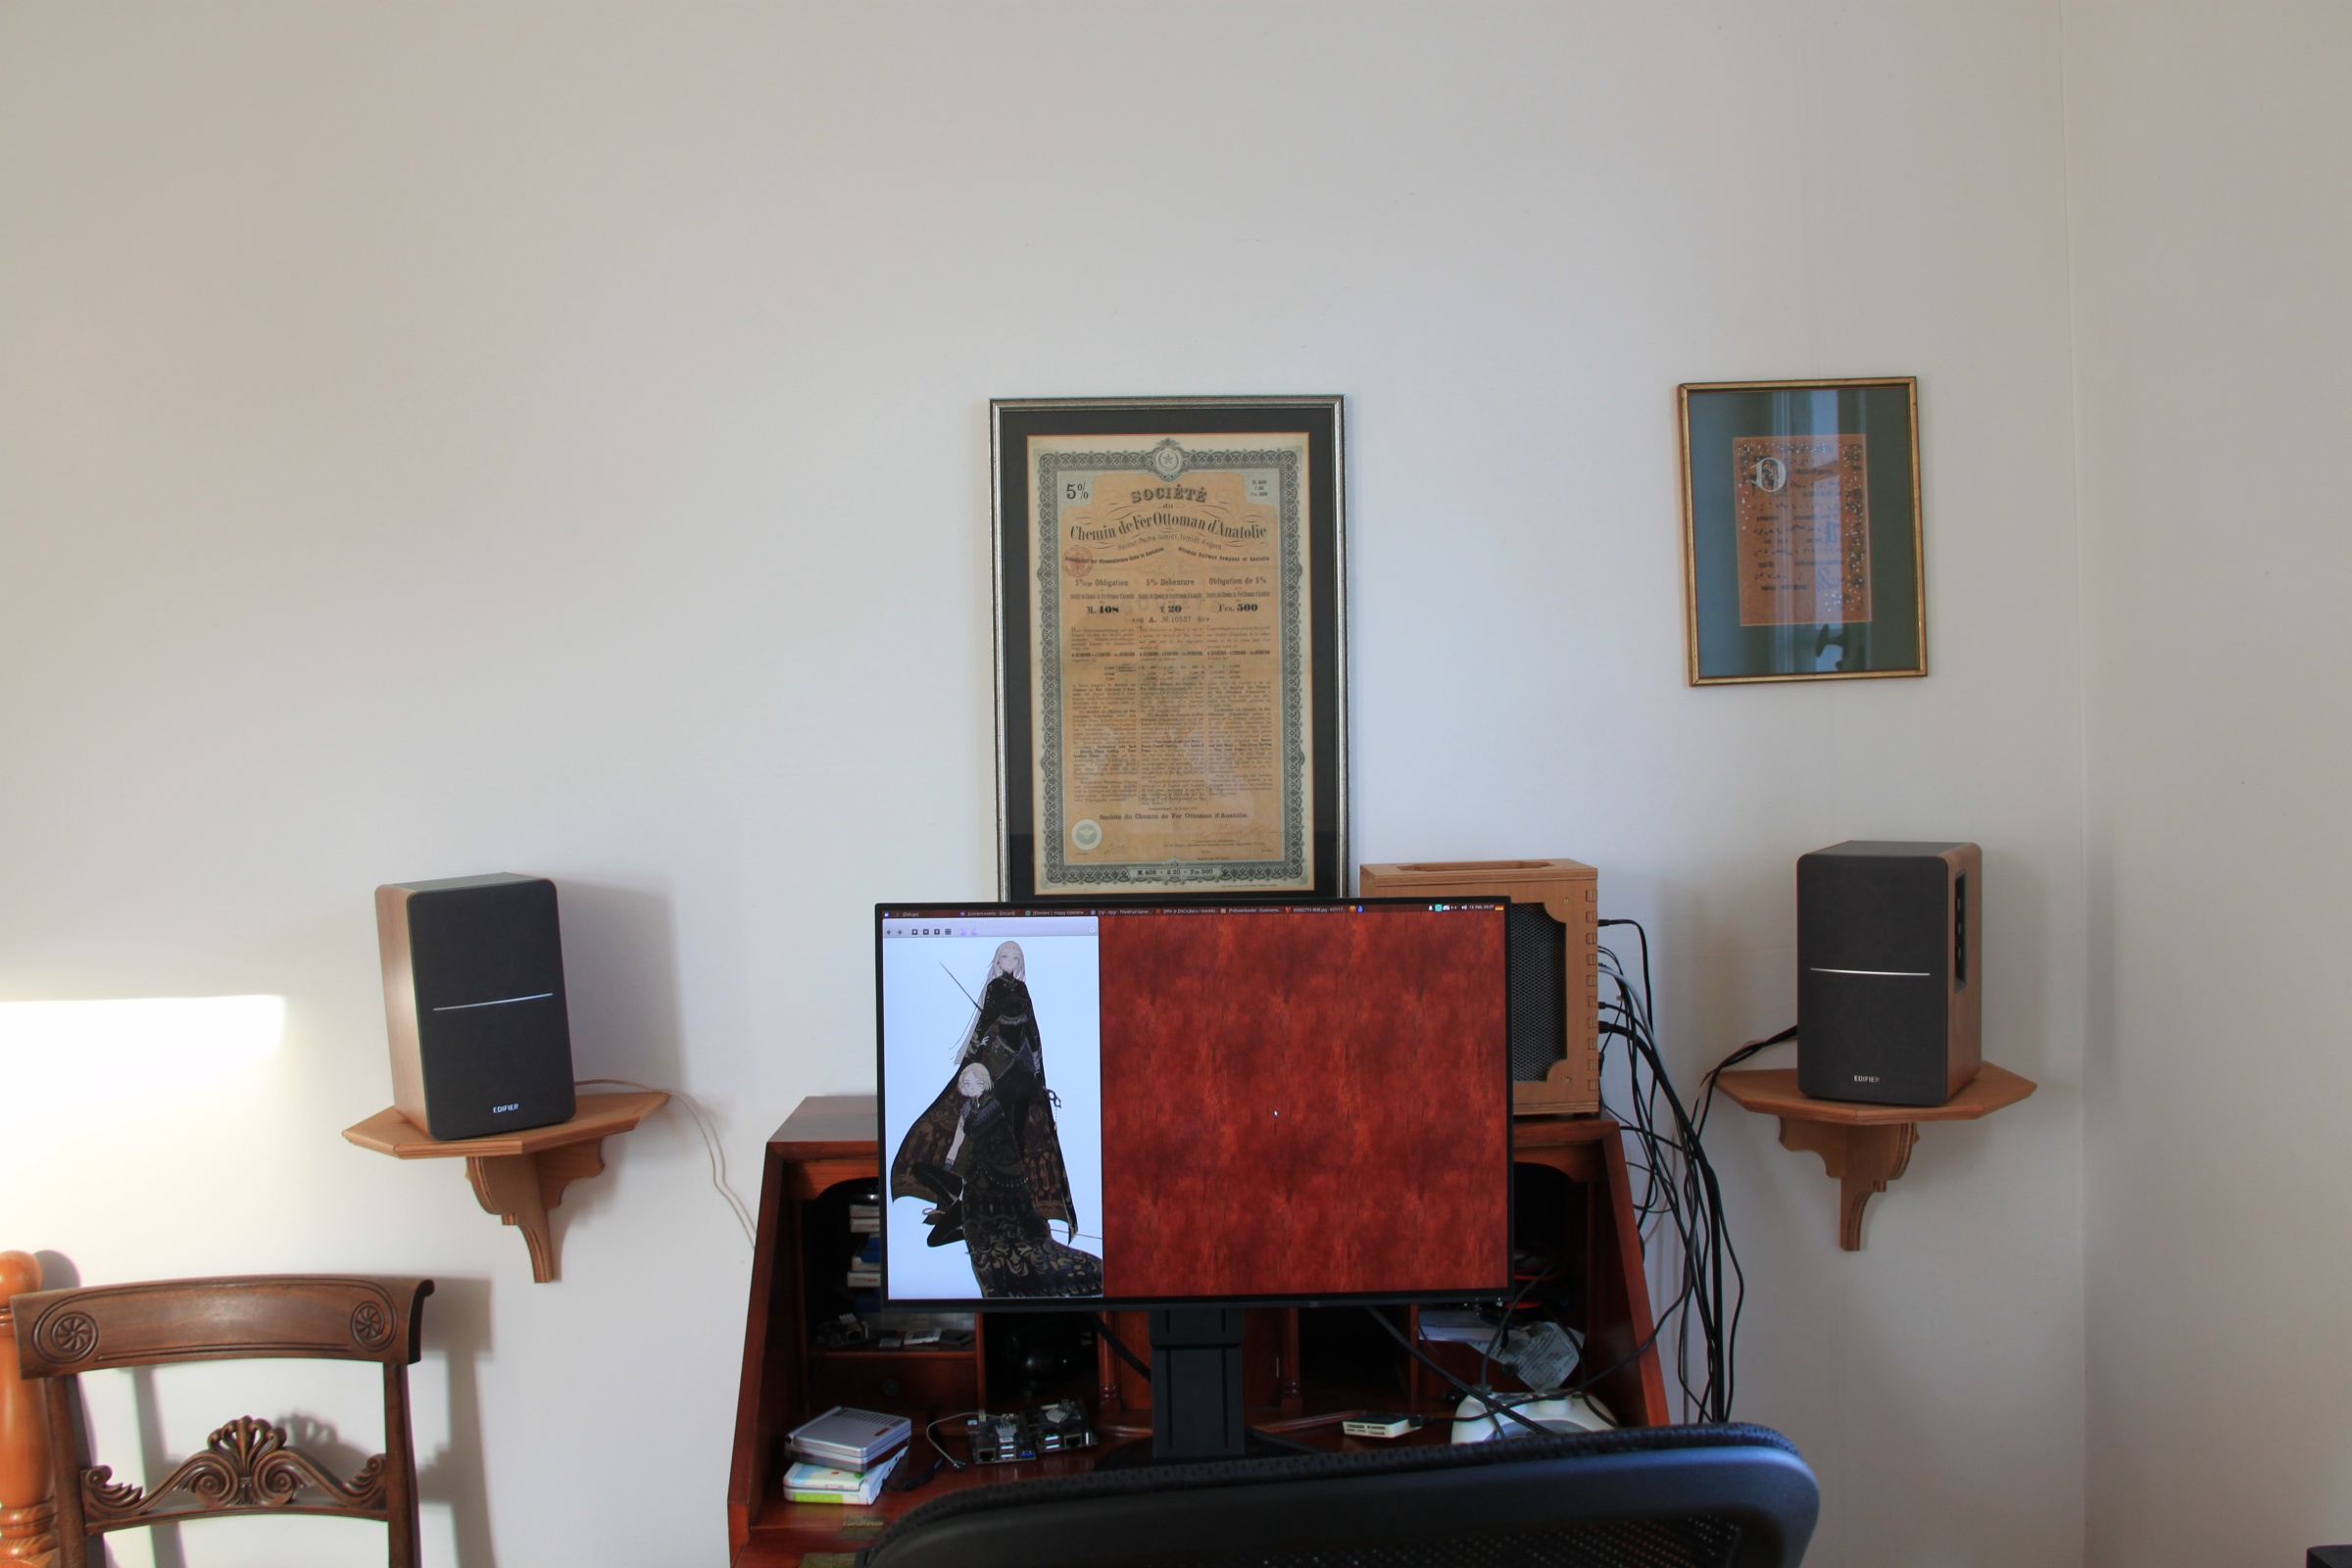
After my old, small speakers broke, I bought the Edifier Studio R1280T as a replacement, but their size was a problem. The only space for them on my secretary was at the top, right behind my monitor—this made for very poor acoustics, and looked crowded. To more properly position them, I had to add corbels or wall consoles to my room. There were a couple of nice antiques in regional classifieds, but at the encouragement of a friend, I decided to make my own.
This having been only my second woodworking project, a lot of mistakes were made, and lessons were learned in the process. Some of them are recorded here so that I may remember them, and so that any errant reader may either learn from or be amused by my rookie mistakes.
- Consider what tools you need in advance, so progress doesn't need to stall every time you realise you're missing something, such as a mitre saw, band clamps, or more clamps, and need to head out to the hardware store again a day later.
- Don't expect to do clean, straight cuts much less at a carefully planned angle with a jigsaw, or you will end up with odd-angled, uneven edges you'll have to fix later. In hindsight, this could have been done better had I thought to use some kind of guide rail.
- Manual miter saws are not suited for sawing through 15 mm thick plywood, although it produced the 45°-angled edges I needed, so spending something like 30–50 minutes on each cut was worth it, however inefficient.
- Do a dry exercise with your clamps before you start gluing. It worked out in the end, but that was unnecessarily stressful.
- Attach your work to the wall by an adjustable means so you don't bolt it to the wall at a slight angle that sours your sweet triumph when everything else has worked out somehow.
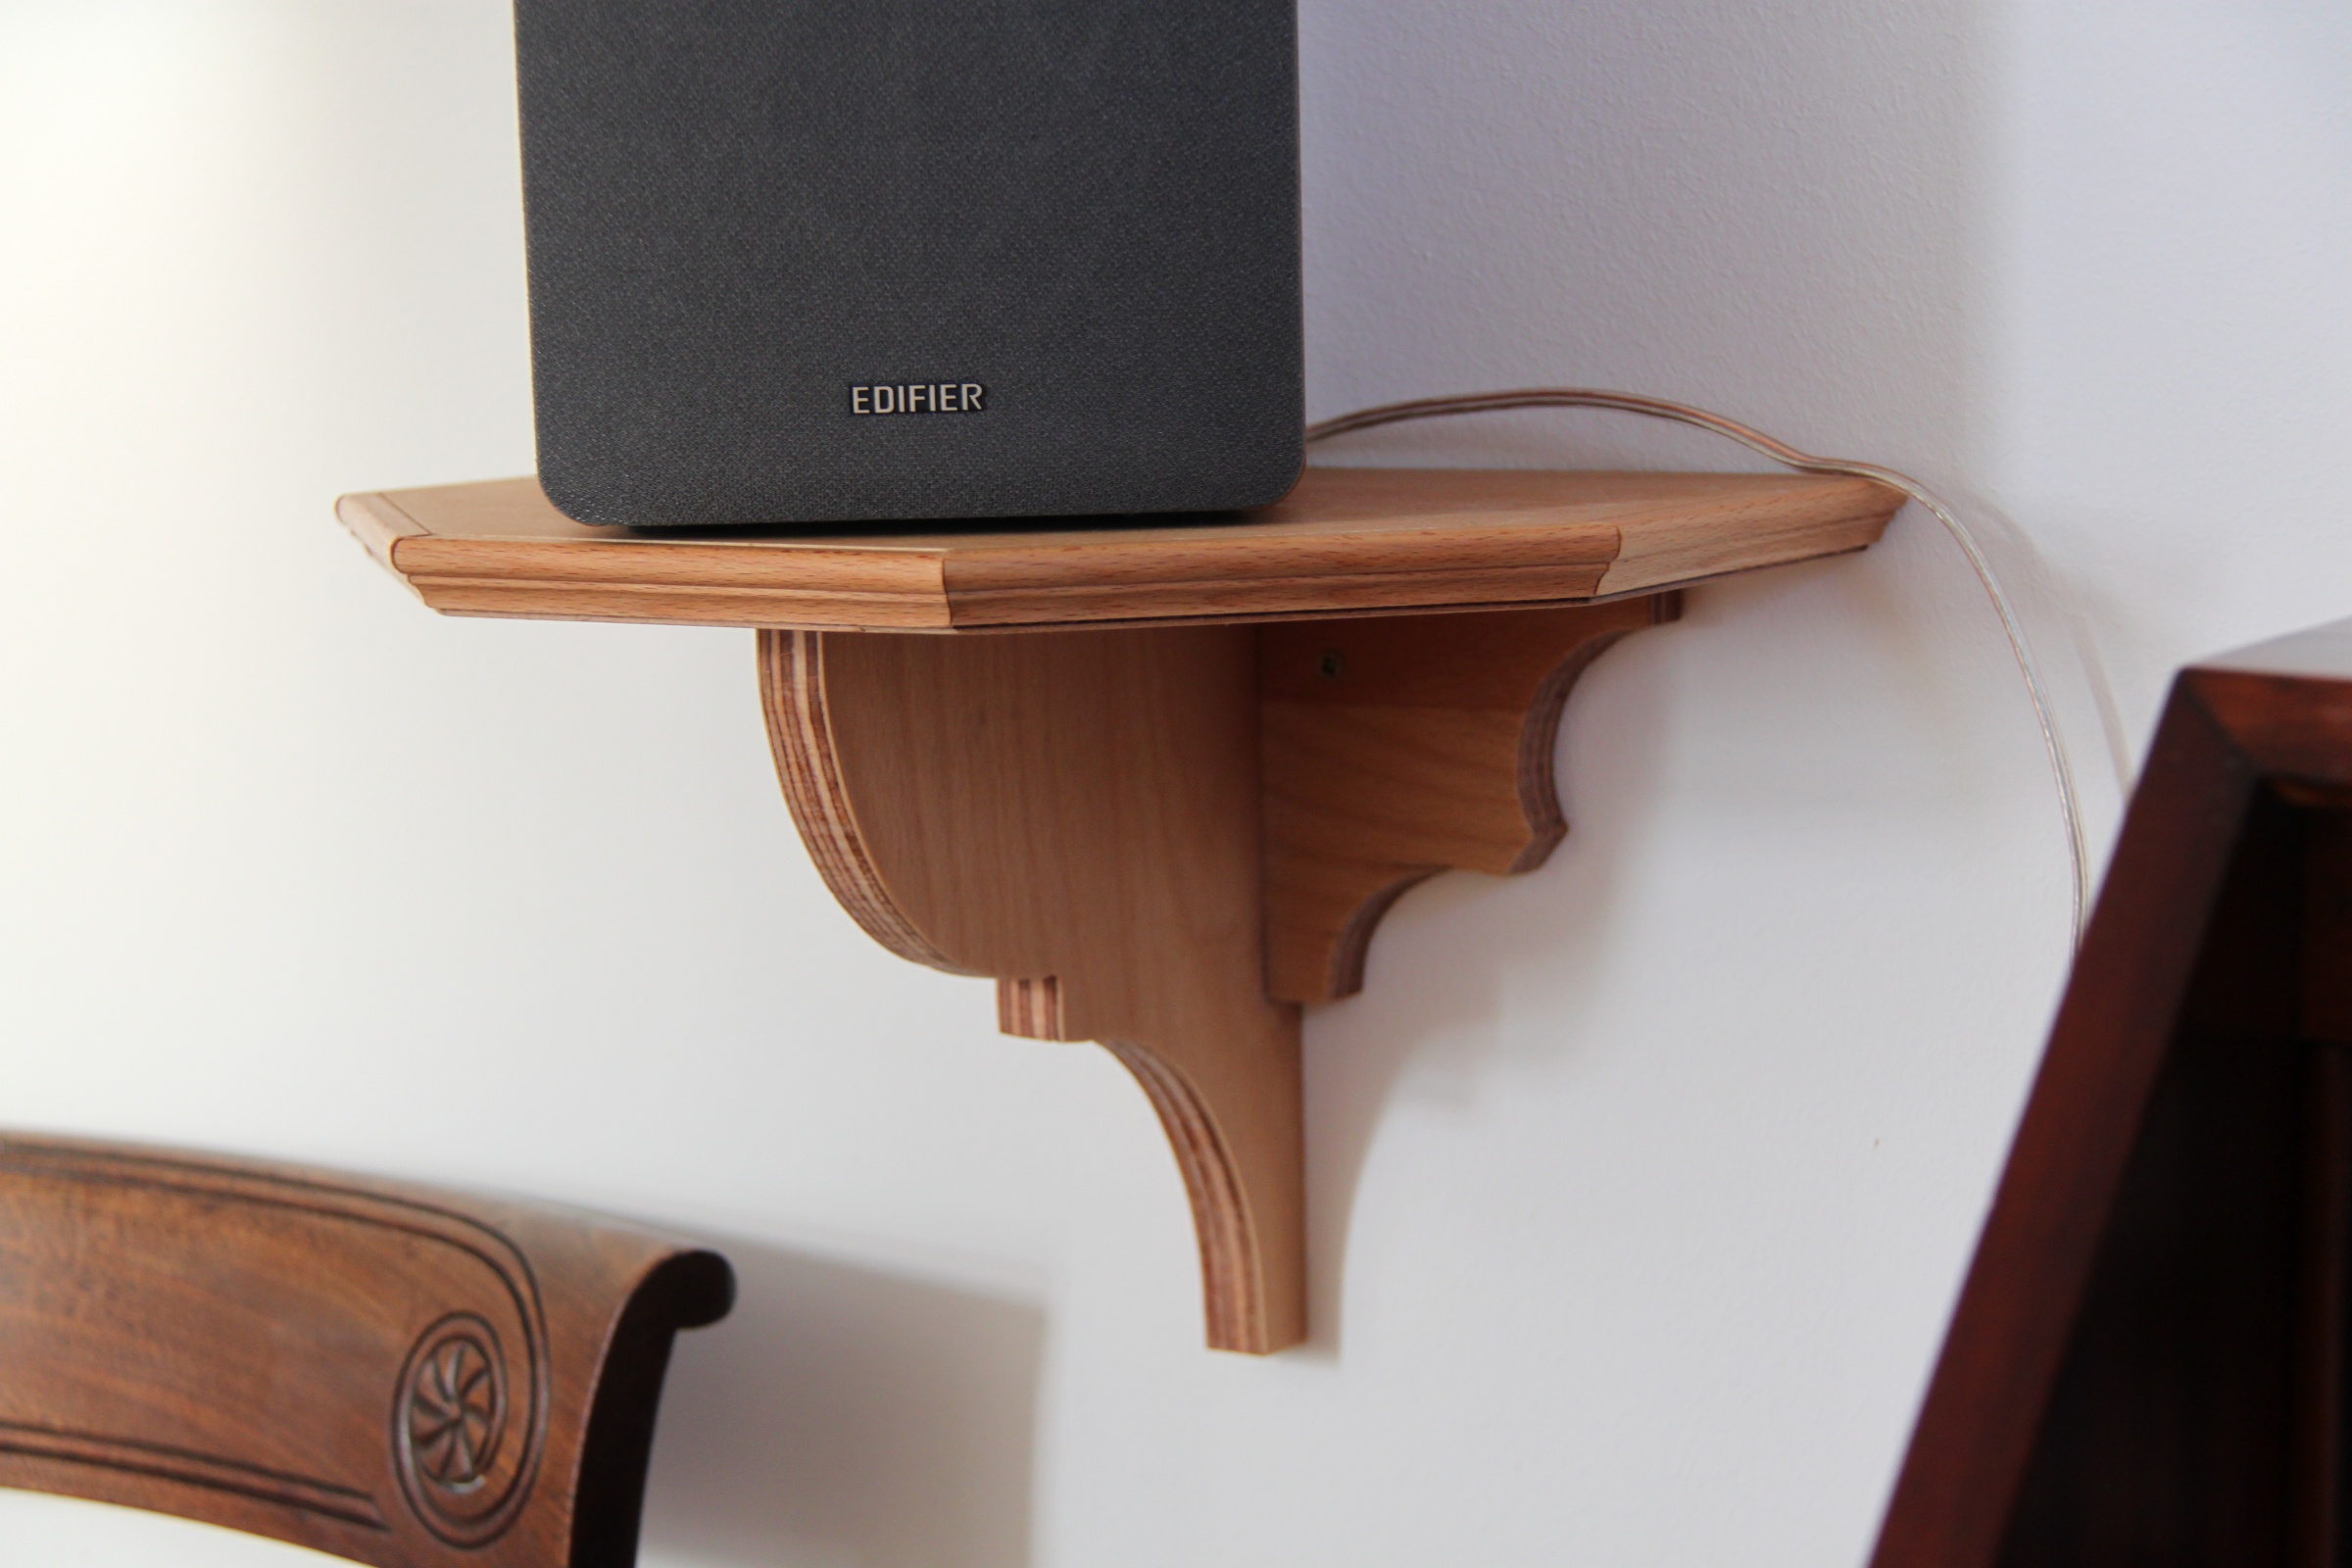
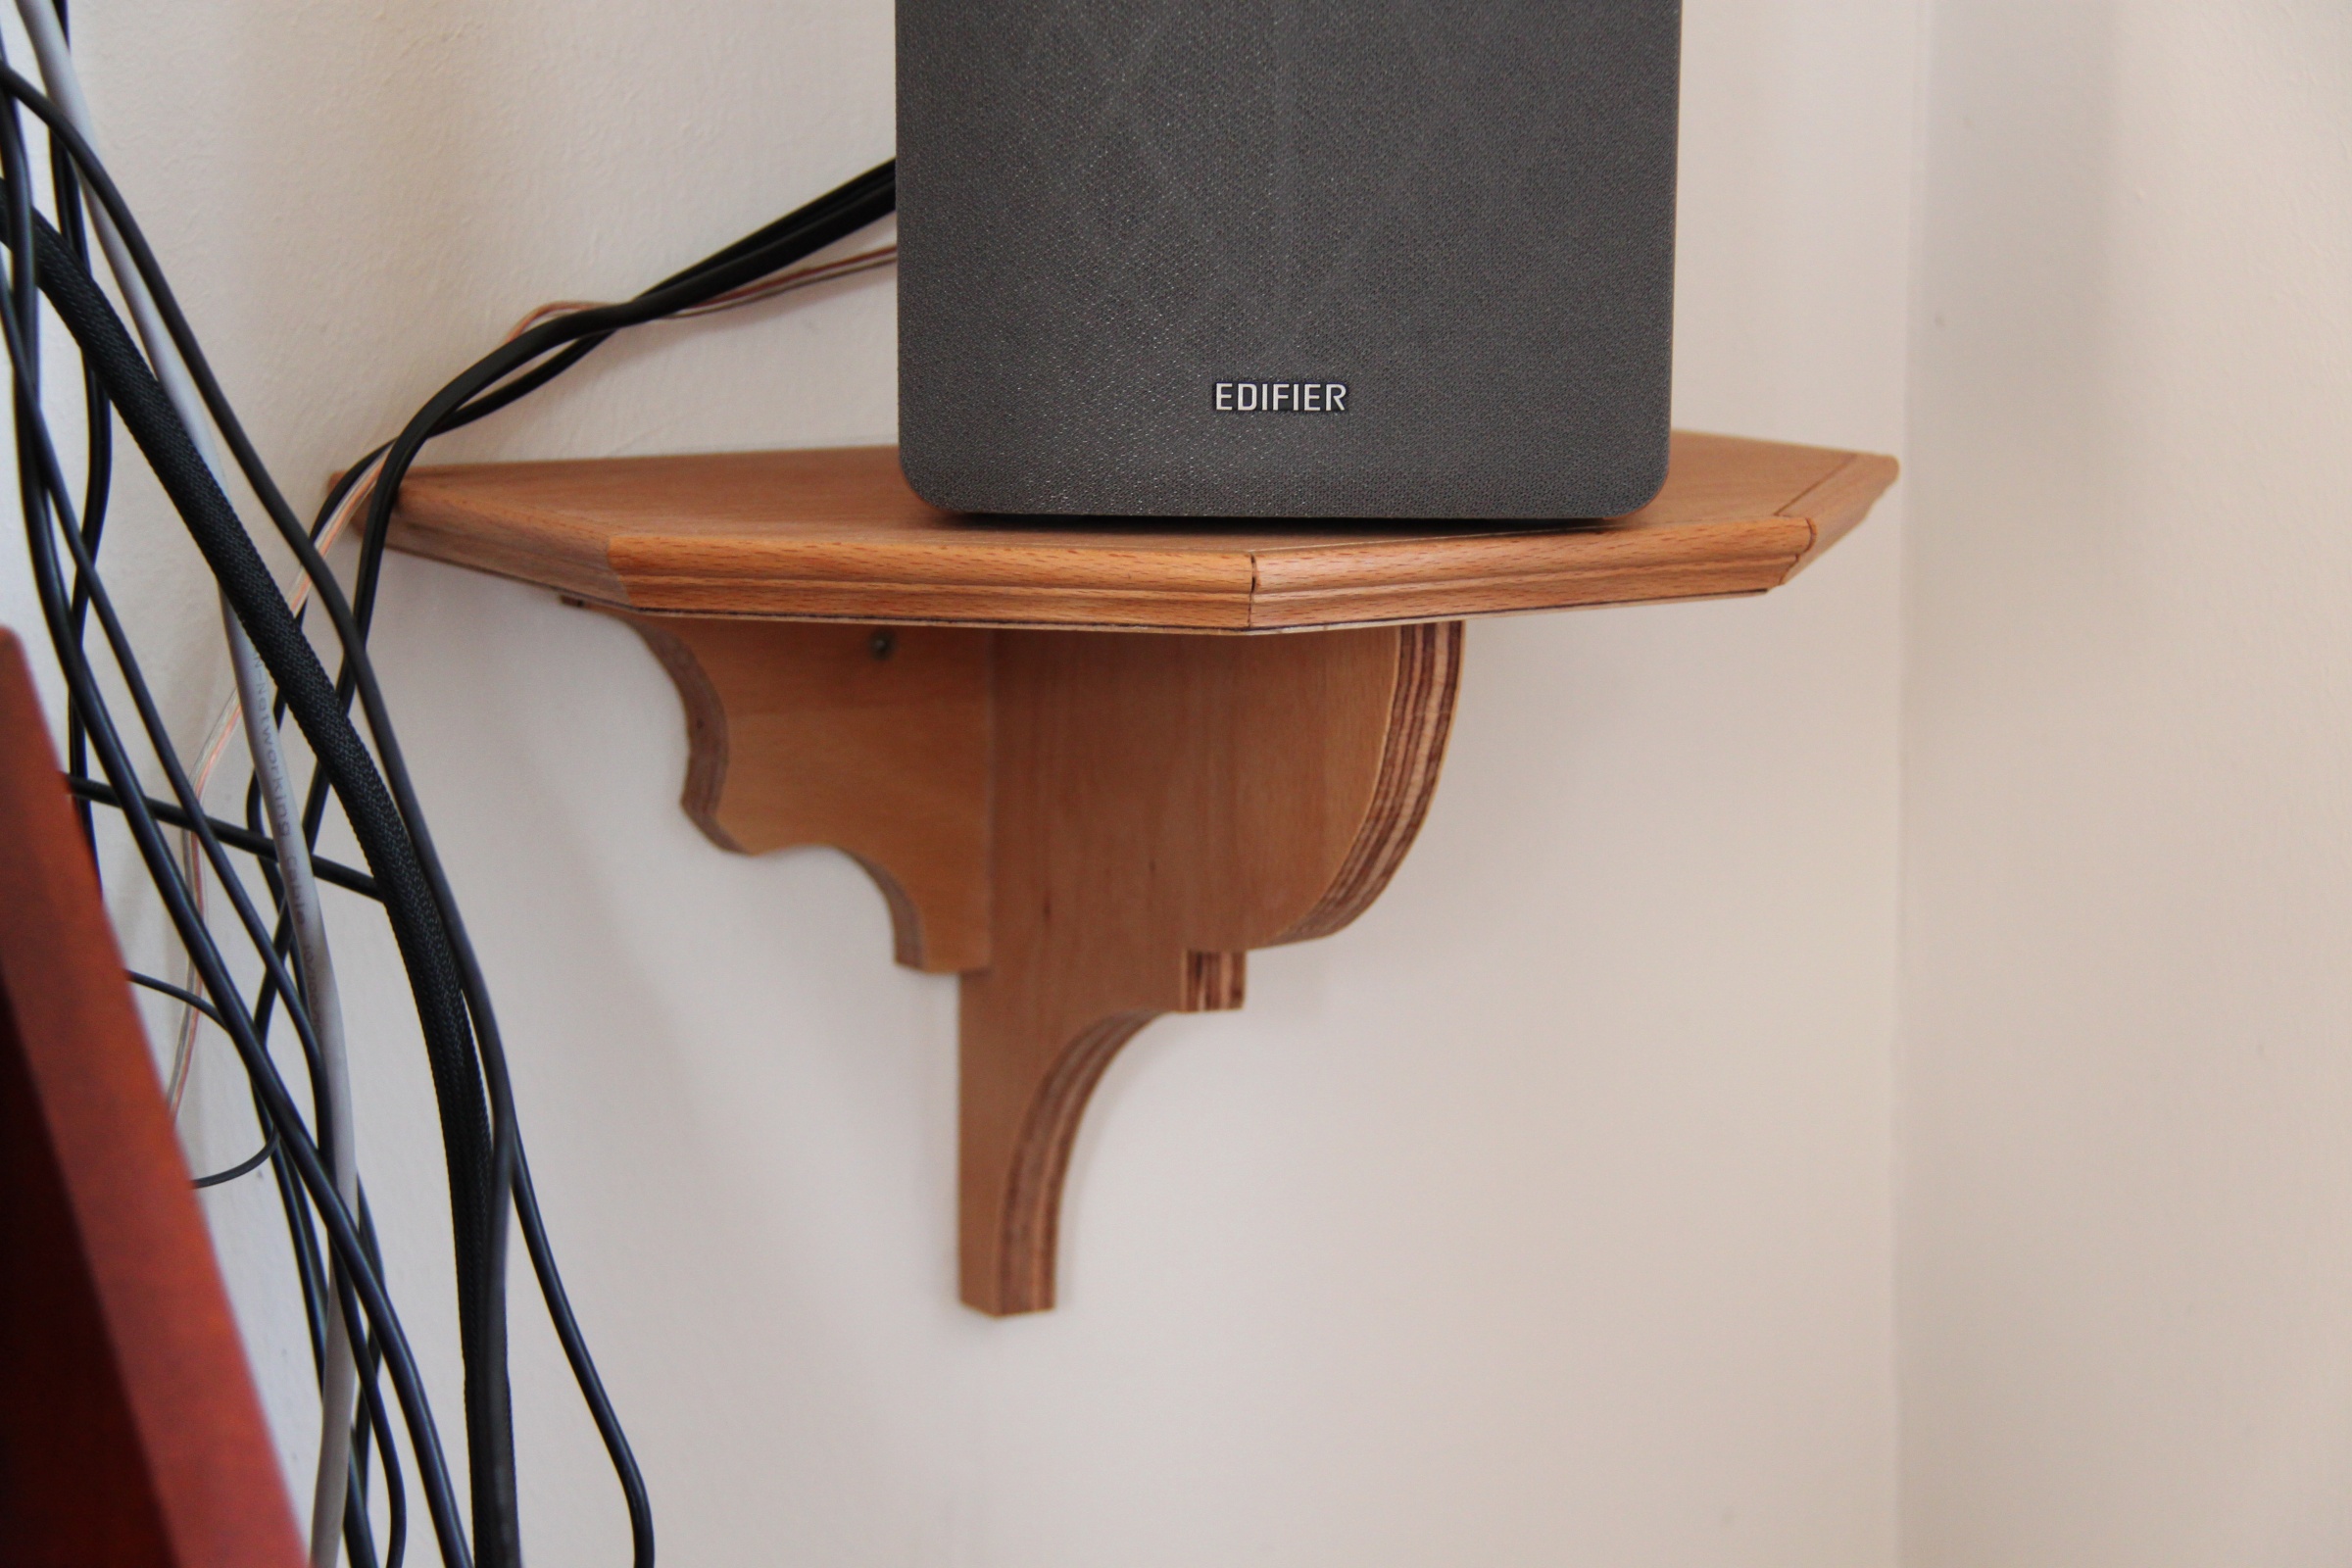
In the end, it was worth the trouble. The sound is much better now.